By LCol (ret) Tom Compton, CD, BA
Director, Argyll Regimental Museum & Archives
The experiences of the Battle of the Somme had taught Canadian planners that thorough preparations – including reconnaissance, briefing assaulting troops, rehearsals, and heavy artillery support – were keys to success. The 9 April attack on Vimy Ridge was the proof of this concept, with significant gains won by the Canadian Corps. Field Marshall Douglas Haig wanted to follow up with these successes in a series of attacks in the area of Acheville-Oppy, but because the lead time to prepare was significantly shorter, fewer gains with heavier casualties was the result. The British official history called the attacks of 3 May 1917 “the blackest [day] of the War.” The Australians had slightly better results farther to the south, but the Canadian 1st Division had stood out by capturing the town of Fresnoy.
Canadians had planned, in some cases, for two to three days, allowing them some time to rehearse the 3 May attacks. The 1st Division was in the lead while the 2nd Division, including 4th Canadian Infantry Brigade and the 19th Bn, were in support. Canadian operational orders demonstrated a clear understanding of German doctrine and broke down the Canadian assault into two distinct battles: firstly, the capture of the position and, secondly, the battle to retain ground despite the inevitable and heavy German counter-attacks. The 1st Division was successful in dislodging the Germans from Fresnoy in part because the Canadians employed a bite-and-hold technique to capturing ground, vice the British method of attempting a break through and exploiting deep into German territory. The Canadians had developed successful methods to seek limited gains with proper support and were prepared for counter-attacks to hold those gains, whereas the British, desiring a clean break through, were often stopped by German flexible defence tactics and were not as prepared for the inevitable counter-attacks.
“…the Germans were desperate to regain Fresnoy. The loss of the village was described in a German regimental history as if ‘a stone had been knocked out of the German defensive wall which had to be replaced without delay if the whole neighbouring position to the north and south were not to be gravely threatened.’ ”
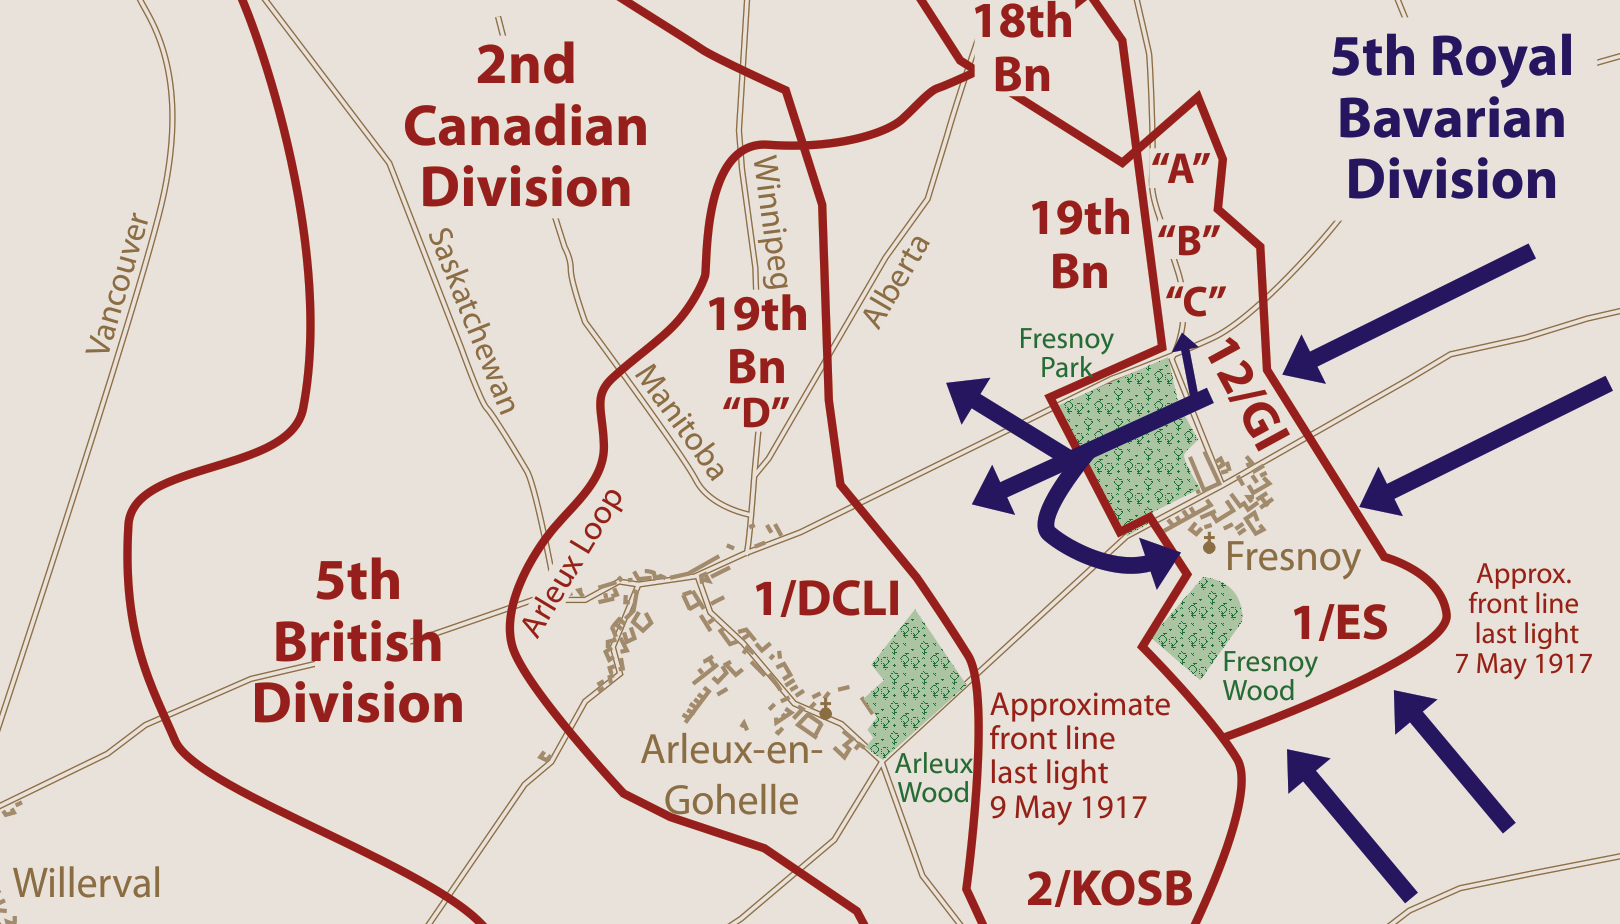
With the 1st Division, exhausted and occupying new ground for four days, the 19th was assigned the task of conducting a relief in place with the 29th Bn. On the evening of 7/8 May, the 19th moved forward and was gassed on the approaches, suffering a relatively small number of casualties. Crucially though, while the relief in place was under way, the 5th Royal Bavarian Division launched the inevitable counter-attack to regain Fresnoy. Unlike at Vimy, the Allied artillery did not have time to locate all the German artillery battery positions, leaving the German fire support intact and able to engage the Canadians. Just as the 19th was occupying the 29th’s trenches, advance elements of the Bavarians encountered the trenches intended for C Company. The Bavarians’ attack at 0400 hrs was overwhelming and broke into Canadian trenches, splitting C Coy (see map 1).
Lt Bridge, in command of C Company and wounded, shouted, “Well boys, we are done, do your duty and fight to the finish.” He soon fell unconscious and was later captured after lying wounded in a trench for two days.
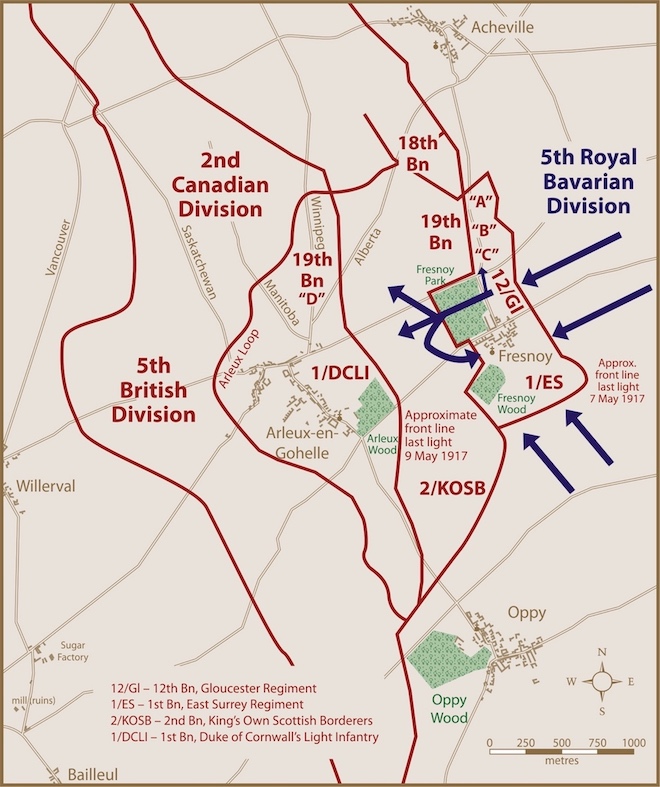
Map 1. Fresnoy Map courtesy of Dr. Mike Bechtold
The confusion surrounding the enemy pressure resulted in one of the C Company’s platoons becoming separated and falling back with 12th Bn Gloucester Regt. The remaining two platoons moved in with B Company to support their comrades and consolidate their position.
The 19th’s right flank was now dangerously exposed. Maj Harry Hatch, acting Commanding Officer (see figures 1 and 3), ordered D Coy to counter-attack and retake C Coy trenches now occupied by the enemy. D Coy approached from A and B Coy trenches and caught the Bavarians on their flank. This surprised the enemy, who eventually scrambled back to their old lines, allowing D Coy to consolidate in C Coy’s former position. In an 18 May letter to his parents, Pte Percy James, a member of C Coy, comments that a recent care package from home containing tobacco had been lost to the Germans, likely during this attack: “I didn’t object to him having it as long as I came out on top.” Meanwhile, Pte Deward Barnes was less casual about the experience:
“It made you think of home. Our Corporal told us not to be afraid … The rain never stopped. The trenches were all caving in and puddles of mud and water. We were soaked through hours ago and thick with mud. We watched. We knew they were coming and fear had left me by that time. My eyes must have been half out of my head from excitement. Finally, about 4:00 AM or just about daybreak, one of the boys says, ‘There they are.’ I couldn’t see them just then and finally I saw one within a stone’s throw away and then dozens of them. The front line of the Germans had been skirmishing and in the distance there were four lines of Germans. You could not see between them.”
Hatch asked the Gloucesters to support his right flank by attacking to regain their former position and shore up his position. Unfortunately, the CO of the Gloucesters said he only had 130 men left and could not support. Hatch was then forced to make a decision to either stay in place with their hard-won gains and face being out flanked by superior numbers, or withdrawing to safer ground. Hatch wisely decided to withdraw the 19th to the comparative safety of Winnipeg road (see map).
German shelling from three sides now caused heavy casualties in the 19th as they waited in the sunken road for the Germans. Total casualties for the one day saw 11 officers and 225 other ranks killed, wounded, or missing. A, B and C Coys had to consolidate into one composite company on the left while D Coy occupied the right along Winnipeg road. The 19th remained in these positions until relief from the 18th and 20th battalions arrived on 9 May.
The 19th Battalion had moved forward at night into the 29th’s trenches under awful weather conditions relatively undisturbed, but the dawn attack by the Bavarians interrupted the relief in line before the 19th had firmly secured their new trenches and gotten used to their surroundings. At this point, Maj Hatch demonstrated excellent tactical acumen and an understanding of German doctrine, learned by the Canadians, by moving to counter the German attack with his D Coy reserve. Hatch’s flanking manoeuvre was successful, but because of the withdrawal of the Gloucesters he had to reconsolidate further to the rear. Rather than seeing this as a failure, Hatch’s superior commanders recognized his steady handling of the 19th Bn under poor conditions and heavy enemy pressure. Hatch’s actions prevented a route within 2nd Canadian Division boundaries and he was subsequently Mentioned in Dispatches (MiD). Hatch would later receive two more MiDs and a Distinguished Service Order for his gallantry commanding the unit under fire.
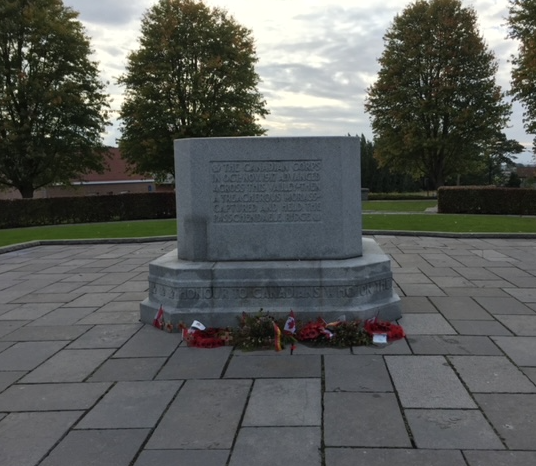
To commemorate this battle, the toughest of the war for the 19th by many accounts, the Argyll Regimental Foundation (ARF) erected a monument in the town square of Fresnoy (see figure 2).
Research for this synopsis is from:
- It Can’t Last Forever: The 19th Battalion and the Canadian Corps in the First World War by Dr. David Campbell
- Command, Leadership and Doctrine on the Great War Battlefield: The Australian, British and Canadian Experience at the Battle of Arras, May 1917 by Dr. Mike Bechtold
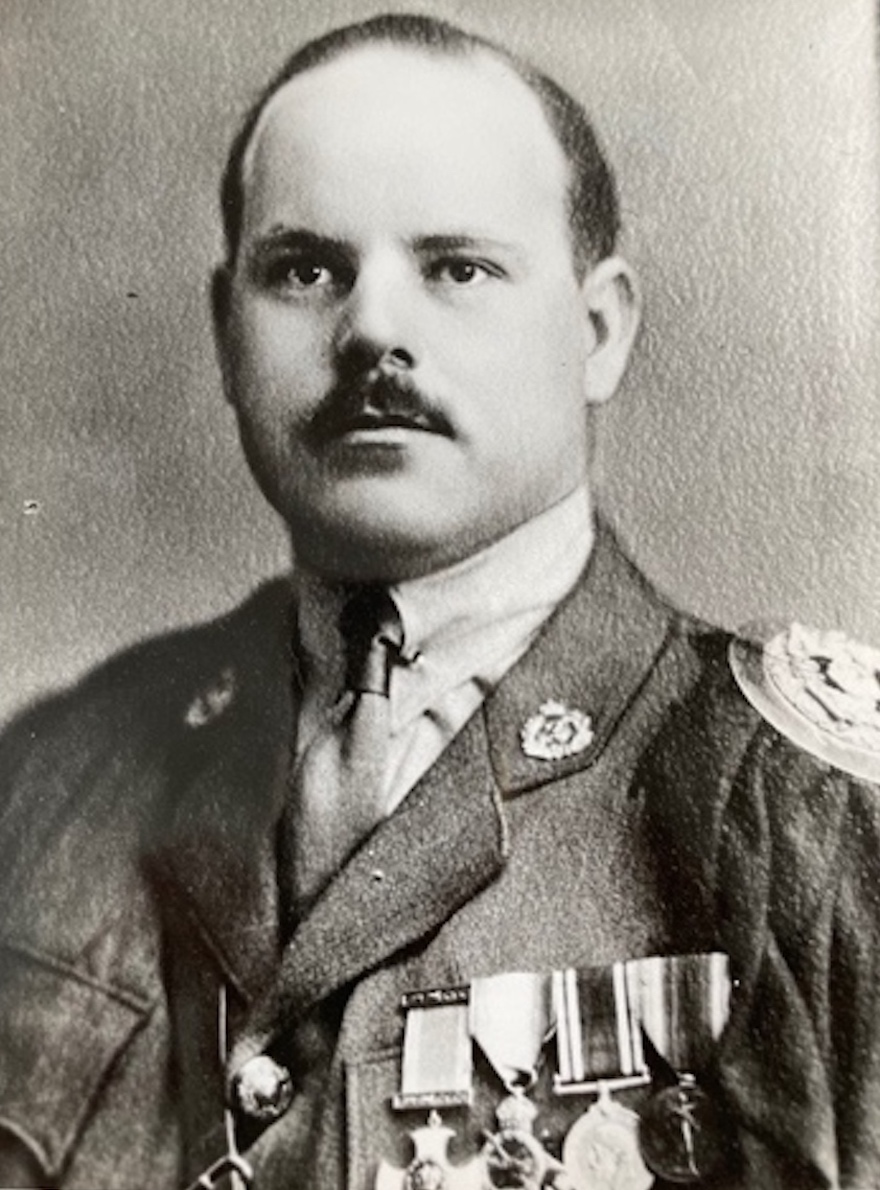
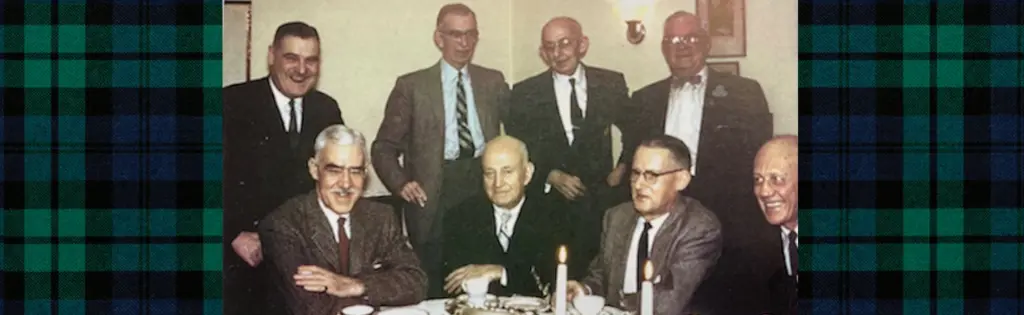
Figure 1. LCol Harry Hatch taken after the war. Hatch demonstrated brilliant tactical acumen in the face of an overwhelming German counter-attack and was Mentioned in Dispatches as a result.
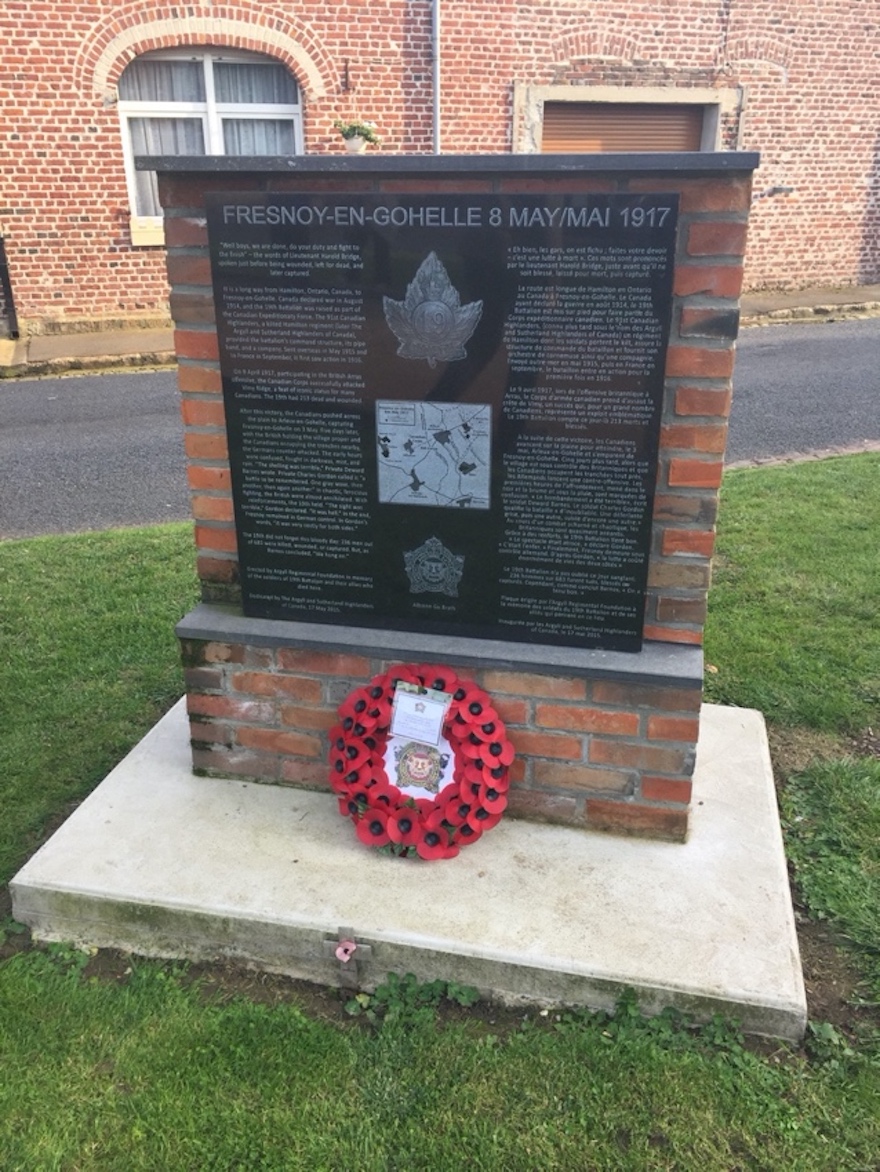
Figure 2. The 19th Battalion memorial erected in the town of Fresnoy by the ARF.
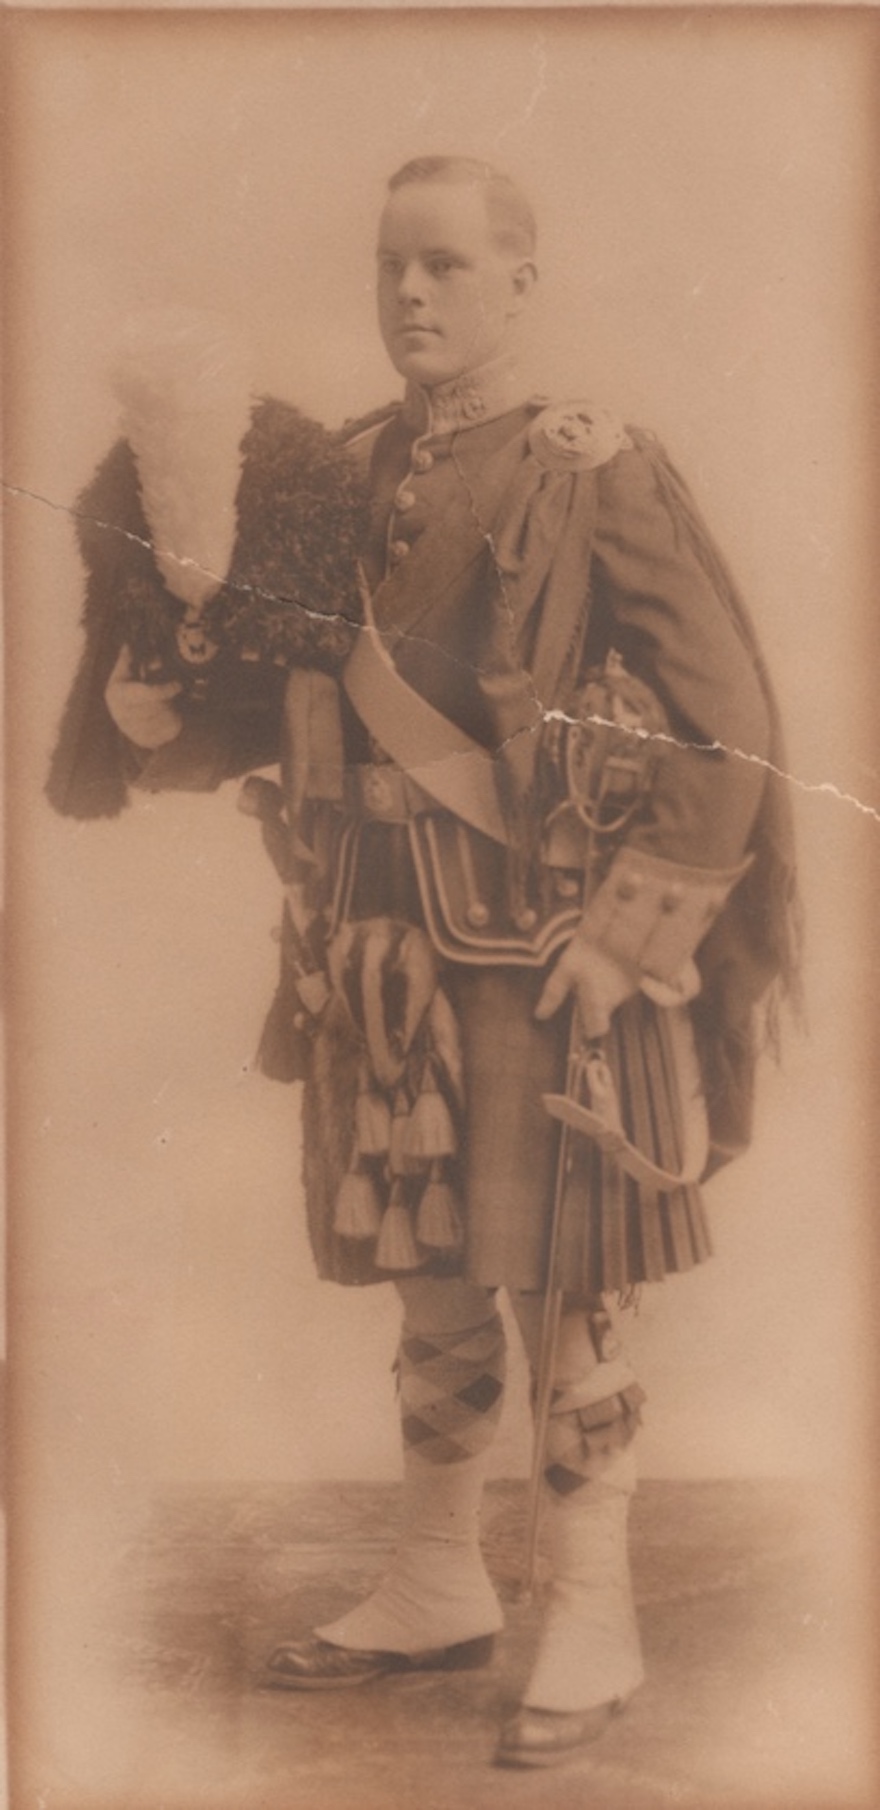
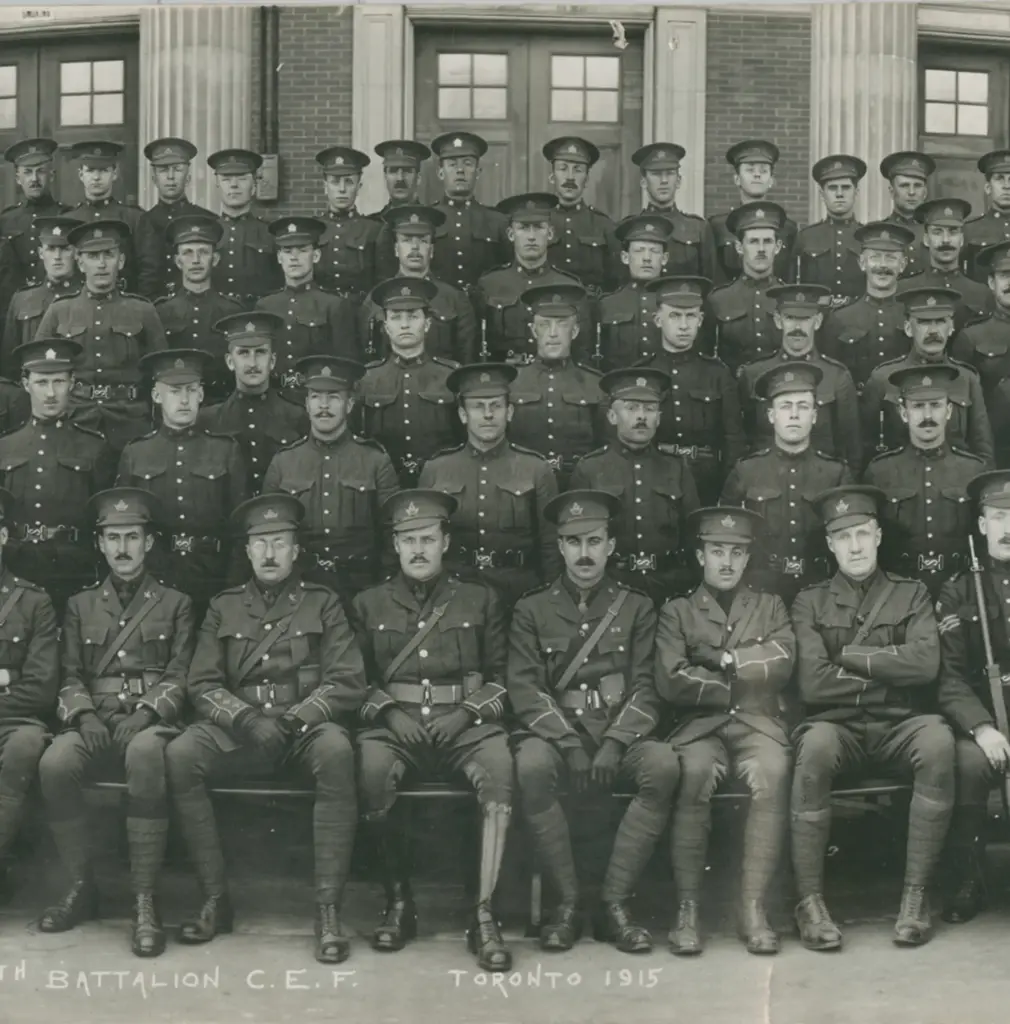
Figure 3. Major Harry Hatch pictured as a junior officer of the 91st Highlanders before the war.
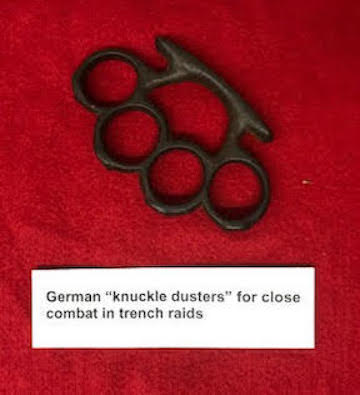
Figure 4. A typical trench fighting weapon used by the Germans (Argyll Museum and Archives).
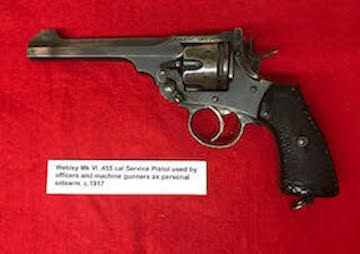
Figure 5. An example of a personal weapon carried by officers and machine-gunners (Argyll Museum and Archives).